





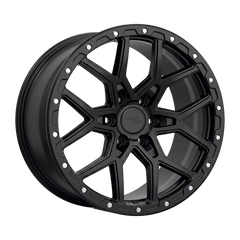
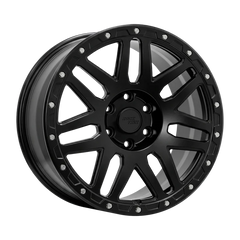

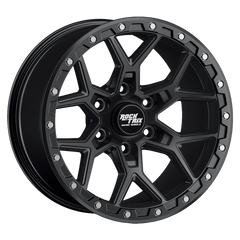
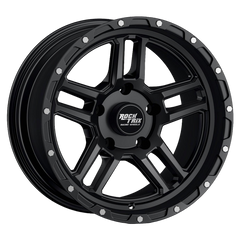
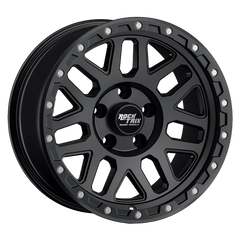
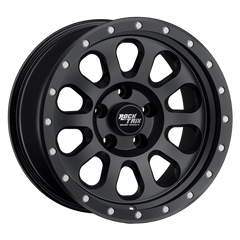
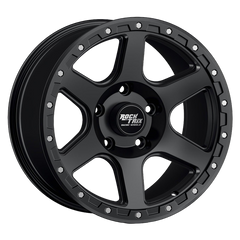
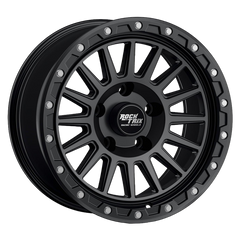
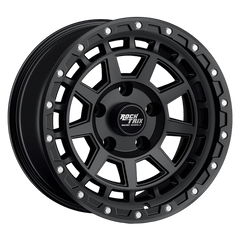
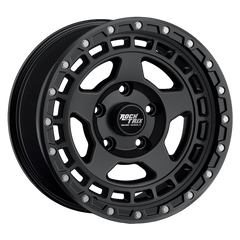
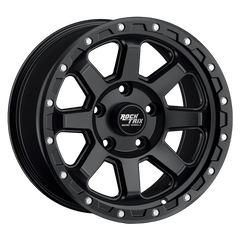


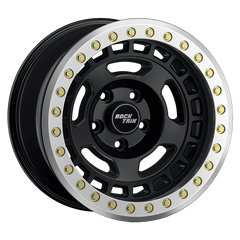
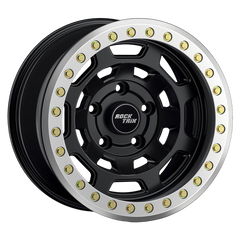
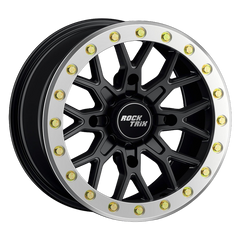
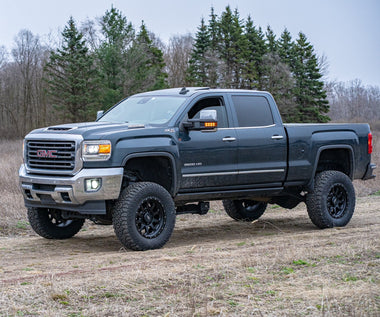
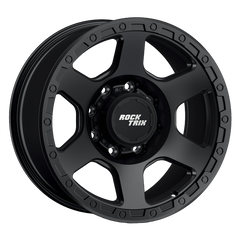
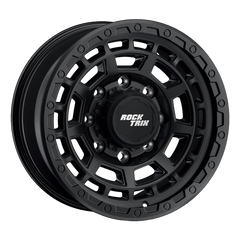
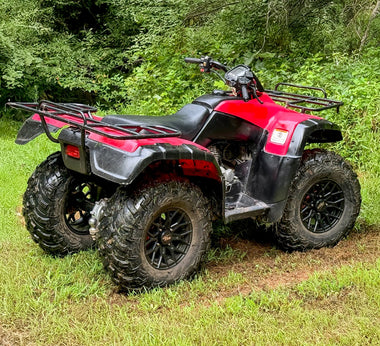
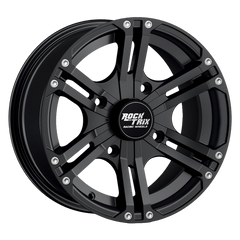
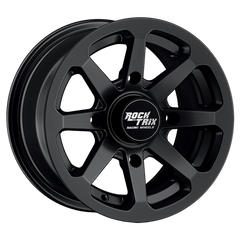
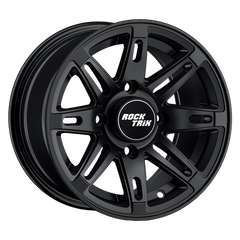
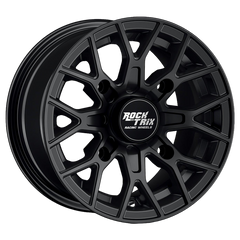
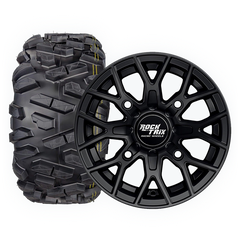
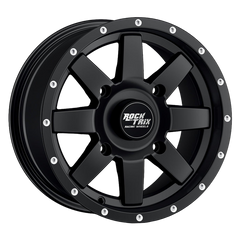
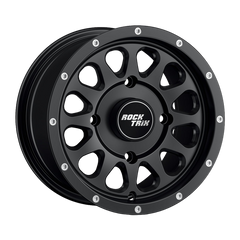

Important read on how to install and secure bead using beadlock ring, and warnings.
BEADLOCK INSTALLATION GUIDE
Warning:
- Beadlock-secured tires are not DOT approved and are designed for off-road use only. Tires must be mounted on the "standard bead seat" for highways.
- Installation must be performed by qualified technicians only. Improper installation may result in accident, personal injury and/or death.
- TORQUE WRENCH REQUIRED to install beadlock rings. DO NOT PERFORM INSTALLATION without a torque wrench.
- Beadlock rings MUST be re-torqued and inspected at least once every 250 miles.
- Thoroughly inspect every beadlock and check tire pressure prior to each drive. Do not operate vehicle if any bolts are discovered to be loose or broken.
- Failure to do any of the above may result in beadlock bolts breaking, causing sudden deflation of tire, resulting in accident or injury due to loss of vehicle control.
Beadlock wheels are exempt from our structural and finish warranty due to the use case of these specific products.
Warning: check tire bead thickness
BEADLOCK BOLTS MAY BREAK IF BEADLOCK RING IS NOT PROPERLY SEATED ON THE WHEEL, RESULTING IN UNEVEN FORCE TO BE APPLIED ON THE BEADLOCK BOLT, EVENTUALLY LEADING TO FAILURE (see illustration below). This is caused by oversized/thicker beads that come with larger tire sizes. A beadlock spacer may be needed (available separately here) in order to properly seat the beadlock ring.

Securing bead using standard bead seat/flange
Mount and balance as a normal wheel, using the drop center. A “decorative beadlock ring” (available separately here) is recommended in lieu of the beadlock ring.

Securing bead using beadlock ring
Completely remove the beadlock ring and all hardware from the wheel assembly. Set aside.
Install valve stems using the same method as a standard non-beadlock wheel.
Lay the wheel face-up on a flat surface, or on a tire mounting machine.
Apply tire lubricant to the bottom bead of the tire and barrel of the wheel. Begin mounting the tire by placing the tire on the wheel, then push down on alternating corners until the bead drops into the barrel. Ensure the outer/upper bead is seated and centered on the top flange.
Place the beadlock ring on the tire and wheel, then line up the holes. Secure the beadlock ring to the wheel by hand threading the bolt and washer assembly, starting at the 12 o’clock position and using a cross star pattern until all hardware is installed. Ensure the tire remains centered during this process.

Once all the hardware is hand tightened, use a torque wrench set to 10-14 ft/lb and repeat the cross tightening pattern.
Repeat the same cross tightening pattern, but with the torque wrench set to 18-24 ft/lb.
Make one final circular pass with the torque wrench, and ensure every bolt is torqued to spec.
Perform a visual check to ensure that the ring is seated flat against the wheel. You may use a feeler gauge to check various areas between the ring and wheel to validate. If you are seeing coning of the ring or notice a gap in any part of the assembly, you may need a beadlock spacer which can be found here.
Seat the rear bead, by inflating the tire until the bead visually or audibly pops into place. NEVER EXCEED MAX PSI LISTED BY TIRE MANUFACTURER
After first drive, retorque all beadlock bolts to 18-24 ft/lbs and re-torque lug nuts to manufacturer recommended specifications.